How to Set Up ArgoCD on Kubernetes: Step-by-Step Guide
By Eyal Dulberg, CTO
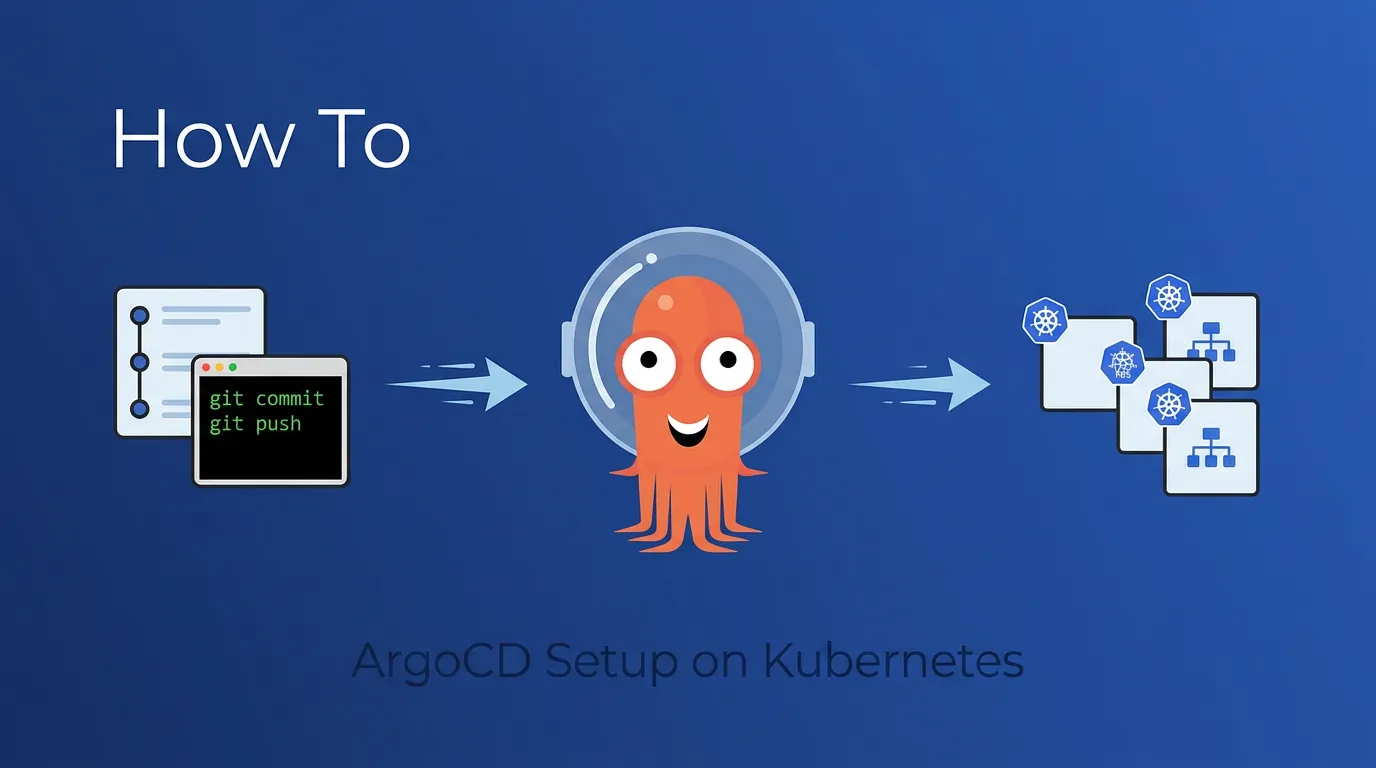
ArgoCD is a declarative, GitOps-based continuous delivery tool for Kubernetes. It watches a Git repository for changes to your manifests and automatically syncs them to your cluster - keeping your deployed state in line with what's in Git.
This guide gets you from zero to a working ArgoCD installation with your first app deployed via GitOps. No fluff, no theory - just the commands and configs you need.
TL;DR: Install ArgoCD with kubectl apply, port-forward to the UI, install the CLI, connect a Git repo, create an Application, and push a change. Eight steps, under 30 minutes. We also cover what you'll need beyond this for a real team.
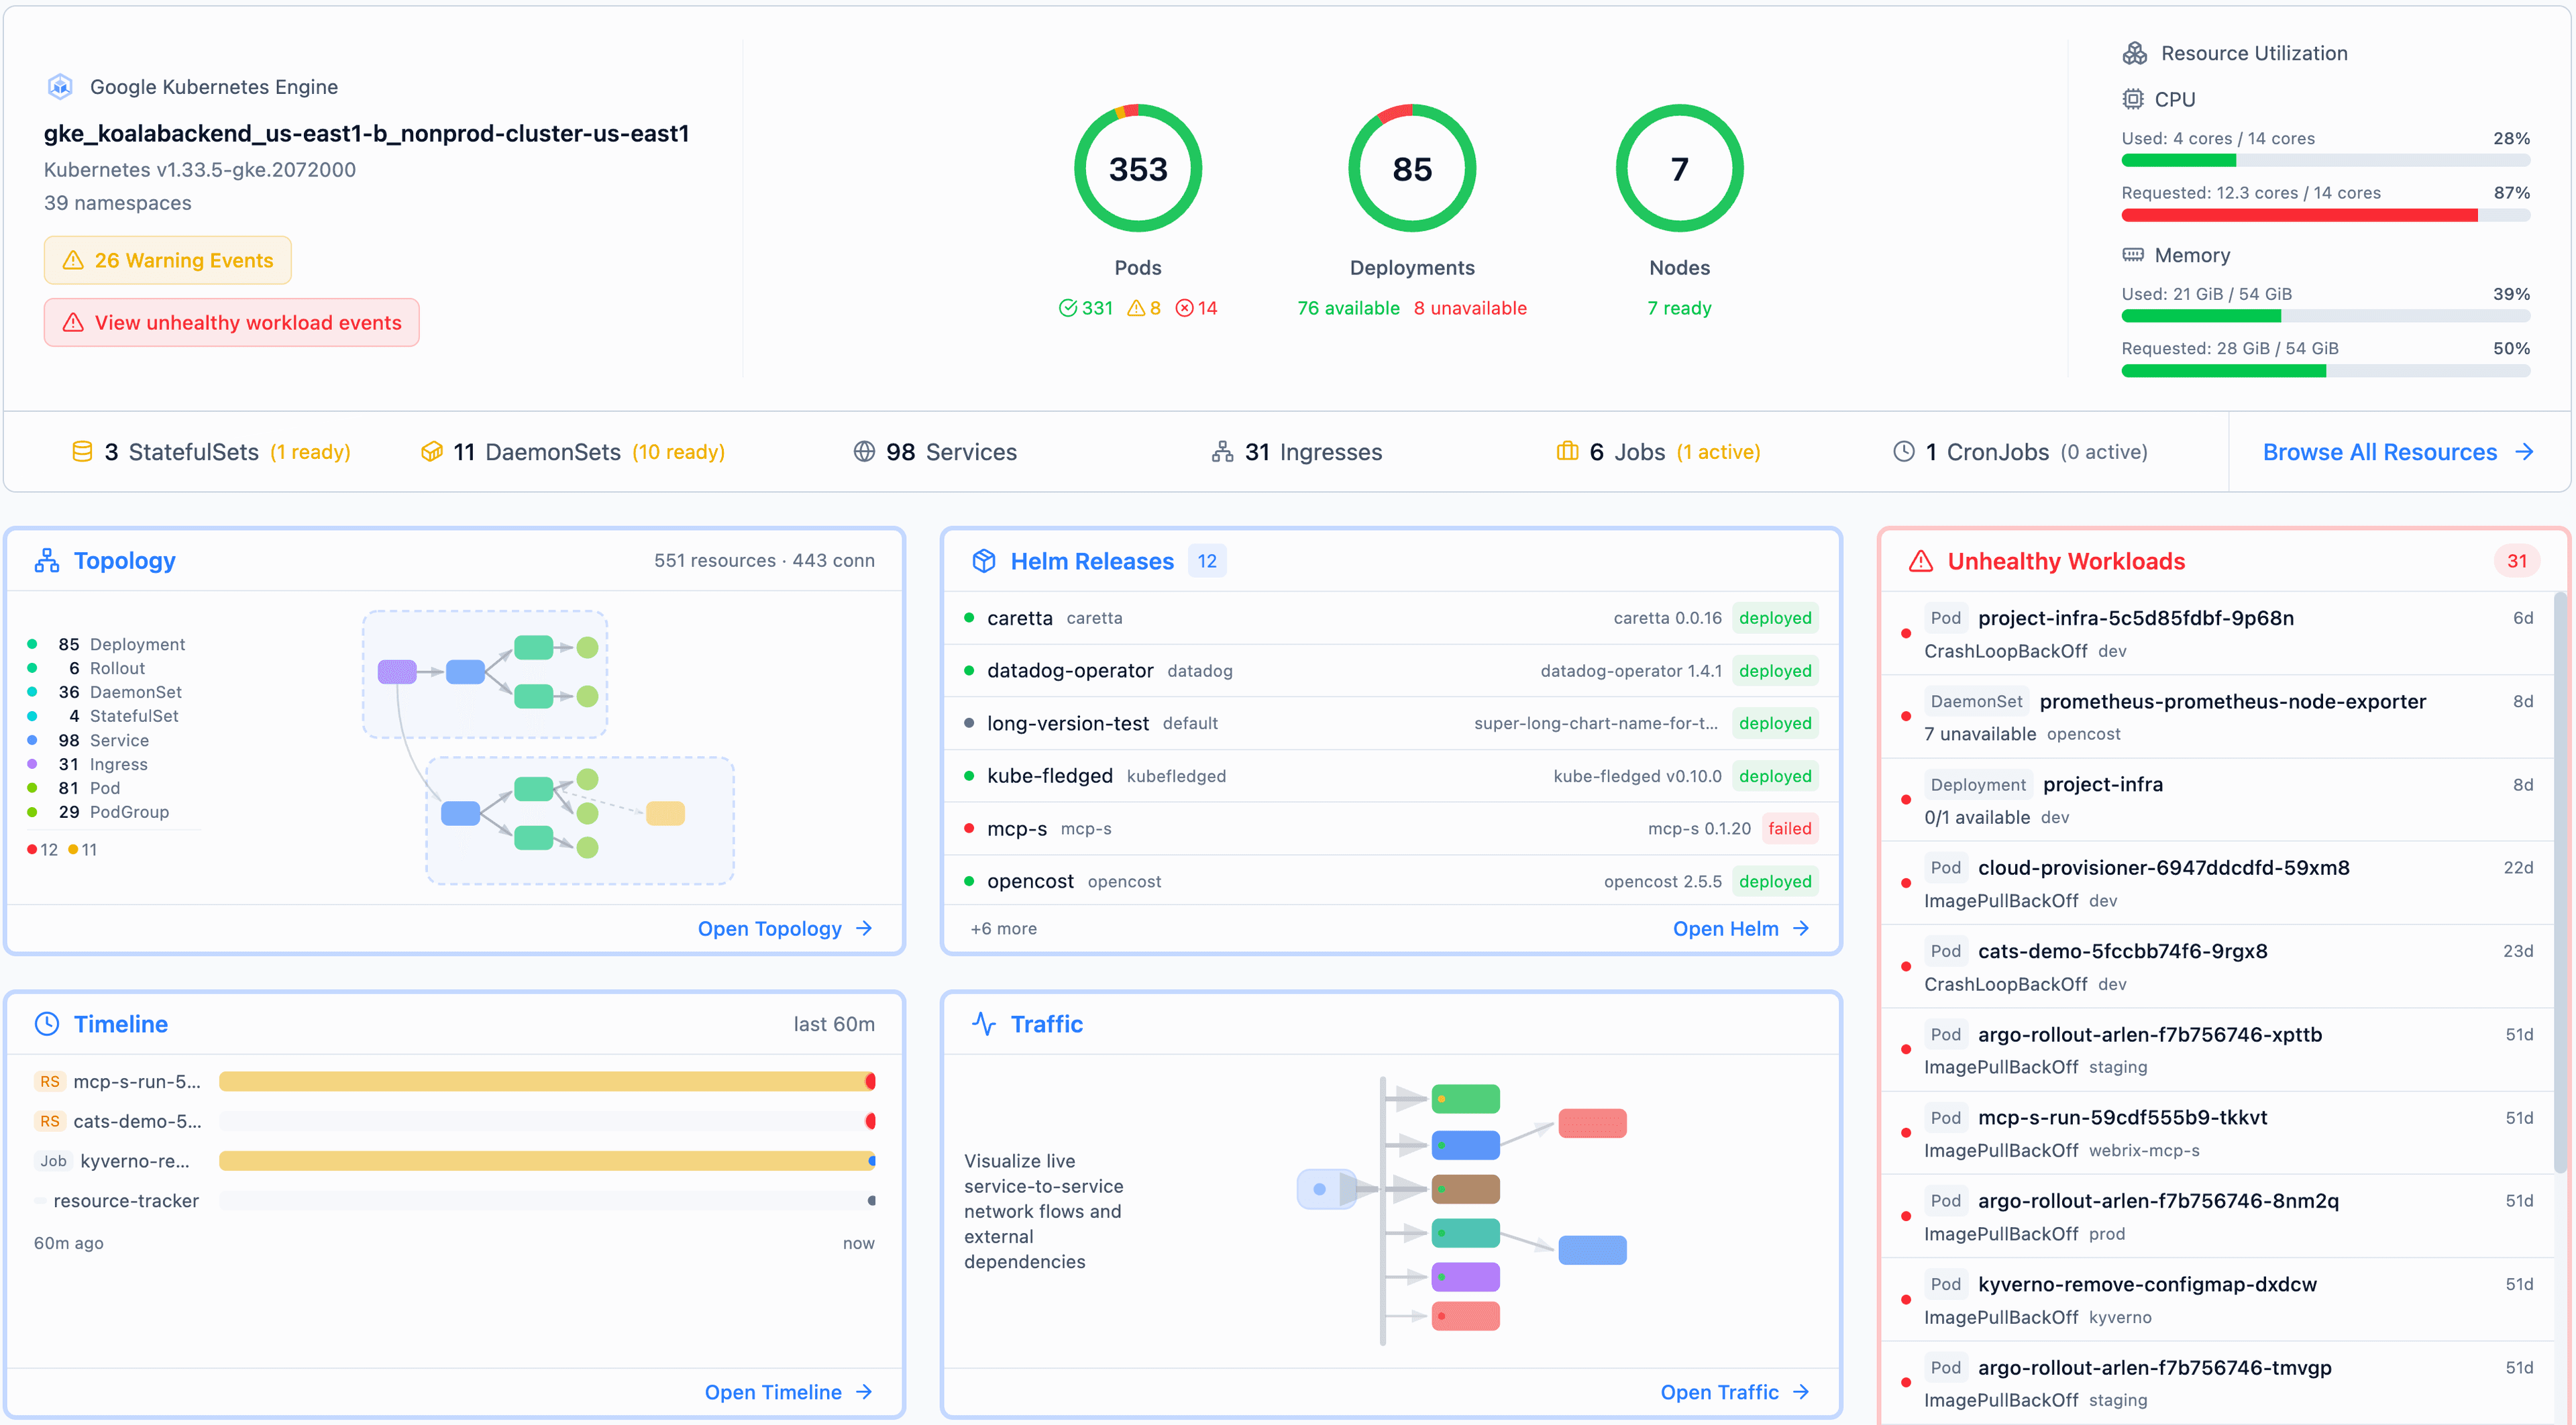
This is part of our three-part ArgoCD series. Once you're up and running, continue with ArgoCD in Production: Patterns That Actually Matter for production patterns, and ArgoCD Multi-Cluster Architecture for choosing between centralized and per-cluster deployments. While you're learning, Radar auto-detects ArgoCD Applications and shows sync status alongside the resources they manage - useful as a visual companion to the CLI.
Prerequisites
You'll need:
- A running Kubernetes cluster (any provider - EKS, GKE, AKS, kind, minikube)
kubectlconfigured and pointing at your clustergitand a GitHub/GitLab account- A terminal with
bashorzsh
Verify your cluster is reachable:
kubectl cluster-infoStep 1: Install ArgoCD
Create a namespace and install ArgoCD with the stable manifest:
kubectl create namespace argocd

kubectl apply -n argocd -f \
  https://raw.githubusercontent.com/argoproj/argo-cd/stable/manifests/install.yaml
This installs the non-HA (single-replica) version, which is fine for getting started. For production clusters, use the HA manifest instead: replace install.yaml with ha/install.yaml in the URL above. You can also install via Helm (helm install argocd argo/argo-cd) if you prefer managing ArgoCD's own configuration as a Helm release.
Wait for all pods to be ready:
kubectl wait --for=condition=ready pod \
  --all -n argocd --timeout=120s
You should see 5-7 pods running: argocd-server, argocd-repo-server, argocd-application-controller, argocd-applicationset-controller, argocd-redis, and argocd-dex-server.
kubectl get pods -n argocdStep 2: Access the ArgoCD UI
The quickest way to access the UI is port-forwarding:
kubectl port-forward svc/argocd-server -n argocd 8080:443Open https://localhost:8080 in your browser. You'll get a TLS warning since it's using a self-signed certificate - that's expected for local access.
Get the admin password
ArgoCD generates an initial admin password stored in a Kubernetes secret:
kubectl -n argocd get secret argocd-initial-admin-secret \
  -o jsonpath="{.data.password}" | base64 -d
Log in with username admin and the password from above.
Important: Change this password after your first login, or better yet, connect an SSO provider. The initial secret should be deleted once you've set up proper authentication:
kubectl -n argocd delete secret argocd-initial-admin-secretStep 3: Install the ArgoCD CLI
The CLI lets you manage ArgoCD from your terminal. On macOS:
brew install argocdOn Linux:
curl -sSL -o argocd https://github.com/argoproj/argo-cd/releases/latest/download/argocd-linux-amd64
chmod +x argocd
sudo mv argocd /usr/local/bin/
Log in to your ArgoCD instance (with port-forward still running):
argocd login localhost:8080 --username admin --password <your-password> --insecureThe --insecure flag is fine for local port-forward. For production, set up proper TLS with an Ingress or Gateway.
Step 4: Create a Sample App Repository
You need a Git repo with Kubernetes manifests for ArgoCD to sync. Create a simple one:
mkdir argocd-demo && cd argocd-demo
git init
Create a file called deployment.yaml with a basic Nginx deployment:
# deployment.yaml
apiVersion: apps/v1
kind: Deployment
metadata:
  name: demo-app
  labels:
    app: demo
spec:
  replicas: 2
  selector:
    matchLabels:
      app: demo
  template:
    metadata:
      labels:
        app: demo
    spec:
      containers:
        - name: nginx
          image: nginx:1.27
          ports:
            - containerPort: 80
          resources:
            requests:
              cpu: "50m"
              memory: "64Mi"
            limits:
              memory: "128Mi"
And a file called service.yaml to expose it:
# service.yaml
apiVersion: v1
kind: Service
metadata:
  name: demo-app
spec:
  selector:
    app: demo
  ports:
    - port: 80
      targetPort: 80
Commit and push to your Git provider:
git add .
git commit -m "Initial demo app"
git remote add origin git@github.com:<your-org>/argocd-demo.git
git push -u origin main
Step 5: Connect the Repo to ArgoCD
If your repo is public, ArgoCD can access it directly. For private repos, add credentials:
argocd repo add git@github.com:<your-org>/argocd-demo.git \
  --ssh-private-key-path ~/.ssh/id_ed25519
Or via HTTPS with a token:
argocd repo add https://github.com/<your-org>/argocd-demo.git \
  --username <username> --password <github-token>
Verify the connection:
argocd repo listStep 6: Deploy Your First Application
Now the good part. Create an ArgoCD Application that tells it what to sync and where:
argocd app create demo-app \
  --repo https://github.com/<your-org>/argocd-demo.git \
  --path . \
  --dest-server https://kubernetes.default.svc \
  --dest-namespace default
Or apply it as YAML for a more GitOps-native approach:
# argocd-application.yaml
apiVersion: argoproj.io/v1alpha1
kind: Application
metadata:
  name: demo-app
  namespace: argocd
spec:
  project: default
  source:
    repoURL: https://github.com/<your-org>/argocd-demo.git
    targetRevision: HEAD
    path: .
  destination:
    server: https://kubernetes.default.svc
    namespace: default
  syncPolicy:
    automated:
      prune: false       # Don't delete resources removed from Git
      selfHeal: true     # Re-sync if someone edits the cluster directly
    syncOptions:
      - CreateNamespace=true
kubectl apply -f argocd-application.yamlStep 7: Sync and Verify
If you used automated sync policy, ArgoCD will sync within a few minutes. To trigger it immediately:
argocd app sync demo-appCheck the status:
argocd app get demo-appYou should see:
Name:               demo-app
Health Status:      Healthy
Sync Status:        Synced
In the ArgoCD UI, you'll see a visual map of your deployment - the Application, Deployment, ReplicaSet, Pods, and Service all connected.
Verify the pods are running:
kubectl get pods -l app=demoStep 8: Make a Change via Git
This is where GitOps clicks. Edit the replica count in your repo:
# deployment.yaml - change replicas from 2 to 3
spec:
  replicas: 3
Commit and push:
git add deployment.yaml
git commit -m "Scale demo app to 3 replicas"
git push
Within 3 minutes (ArgoCD's default polling interval), you'll see the change reflected in the cluster. Or trigger it immediately:
argocd app sync demo-appThat's the GitOps workflow: change Git, cluster converges. No kubectl apply, no direct cluster access needed.
What You Have Now
At this point you have:
- ArgoCD installed and running
- A Git repo connected as a source
- An application syncing from Git to your cluster
- Automated self-healing (drift correction)
This is enough for a single developer experimenting with GitOps. It's not enough for a team.
What's Missing for Production
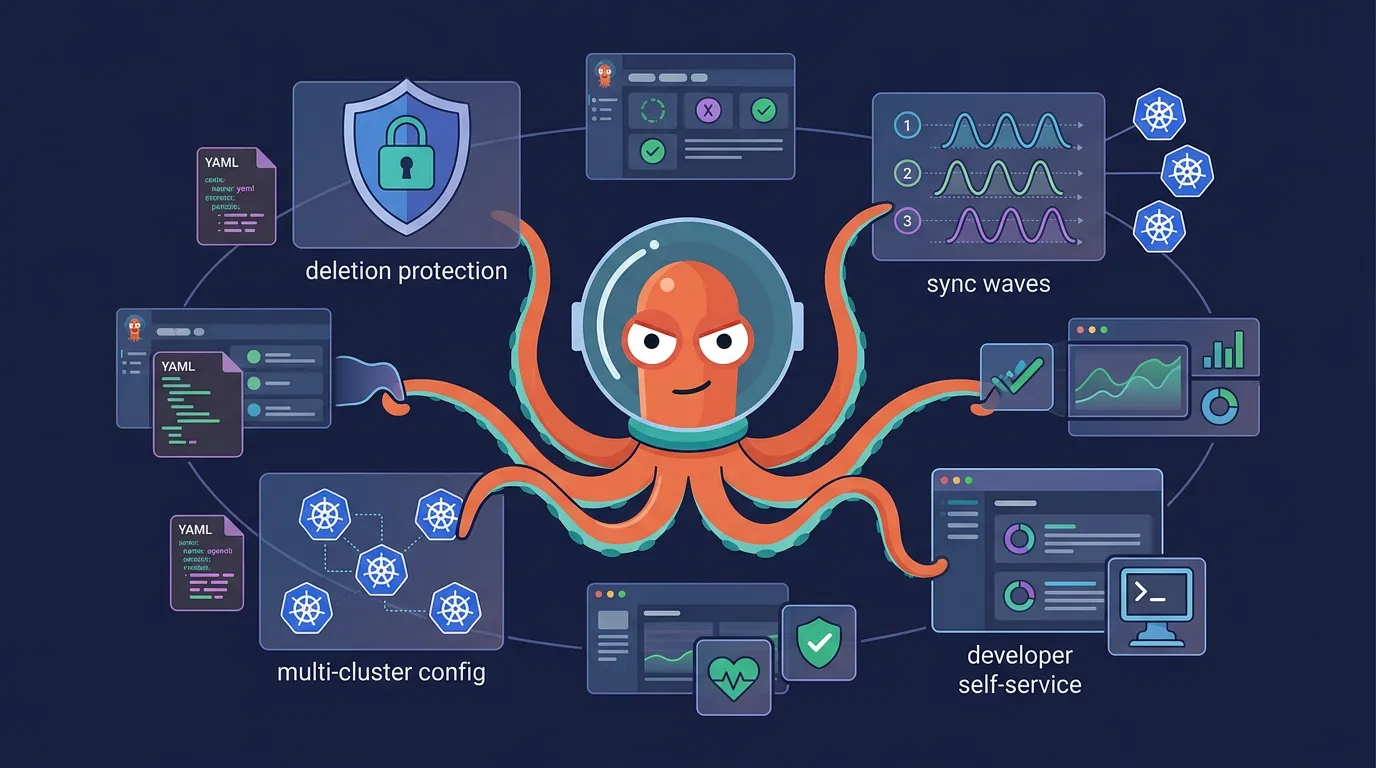
The setup above works for a demo. For a real team, you'll quickly hit these gaps:
Multi-cluster management: You need the same addons across dev, staging, and prod - but with different resource limits, replica counts, and configs. Copying YAML files per cluster doesn't scale. See ArgoCD Multi-Cluster Architecture for choosing between centralized and per-cluster deployments.
Developer self-service: Your developers can't (and shouldn't) be expected to write ArgoCD Application YAML and Kustomize patches. They need an interface that generates the right config for them.
Access control: The default admin account can do anything. You need RBAC with AppProjects to isolate teams and limit who can sync what.
Deletion protection: One accidental kubectl delete on an ApplicationSet can cascade into deleting every Application it manages. You need multiple layers of protection.
Ordered deployments: If your app needs database migrations before the service starts, or config before the deployment, you need sync waves and hooks - which means more YAML annotations developers need to understand.
Secrets management: Kubernetes Secrets are base64-encoded, not encrypted. You'll need Sealed Secrets, External Secrets Operator, or a vault integration before storing anything sensitive in Git.
We cover the patterns that solve these problems in ArgoCD in Production: Patterns That Actually Matter - including multi-cluster file organization, ApplicationSet auto-discovery, three-layer deletion protection, and sync waves for ordered deployments.
Or, if you'd rather skip the manual setup entirely - Skyhook gives you a production-ready ArgoCD setup out of the box, with all of these patterns configured from day one.
Frequently Asked Questions
Is ArgoCD free?
Yes. ArgoCD is a free, open-source CNCF project licensed under Apache 2.0. There's no paid tier or enterprise edition of the core project. Commercial platforms like Akuity and Skyhook build management layers on top of it, but ArgoCD itself is fully free.
How often does ArgoCD sync with Git?
By default, ArgoCD polls your Git repository every 3 minutes. You can configure this with the timeout.reconciliation setting in the argocd-cm ConfigMap, or set up Git webhooks for near-instant sync on push.
Can I install ArgoCD with Helm instead of kubectl?
Yes. The ArgoCD community maintains an official Helm chart at argo/argo-cd. Run helm repo add argo https://argoproj.github.io/argo-helm && helm install argocd argo/argo-cd -n argocd --create-namespace. Helm gives you more control over ArgoCD's own configuration values, which is useful if you plan to manage ArgoCD's config as code.
How do I expose ArgoCD outside the cluster?
For production, replace port-forwarding with an Ingress or Gateway resource pointing to the argocd-server service. You'll want TLS termination - either via cert-manager with Let's Encrypt or your cloud provider's certificate manager. The ArgoCD Ingress docs cover configuration for nginx, Traefik, and AWS ALB.
Further Reading
- ArgoCD in Production: Patterns That Actually Matter - Multi-cluster patterns, deletion protection, sync waves, and developer self-service
- ArgoCD Multi-Cluster Architecture: Centralized vs Per-Cluster - Choosing the right deployment model for your team
- Managing Kubernetes Add-ons: Argo CD or Terraform? - When to use ArgoCD vs Terraform for different lifecycle stages
- ArgoCD Official Getting Started Guide - Full documentation from the ArgoCD project